 Al.Admin
- Posts : 918
Join date : 2020-03-24
Age : 76
Location : Newcastle. N.E England
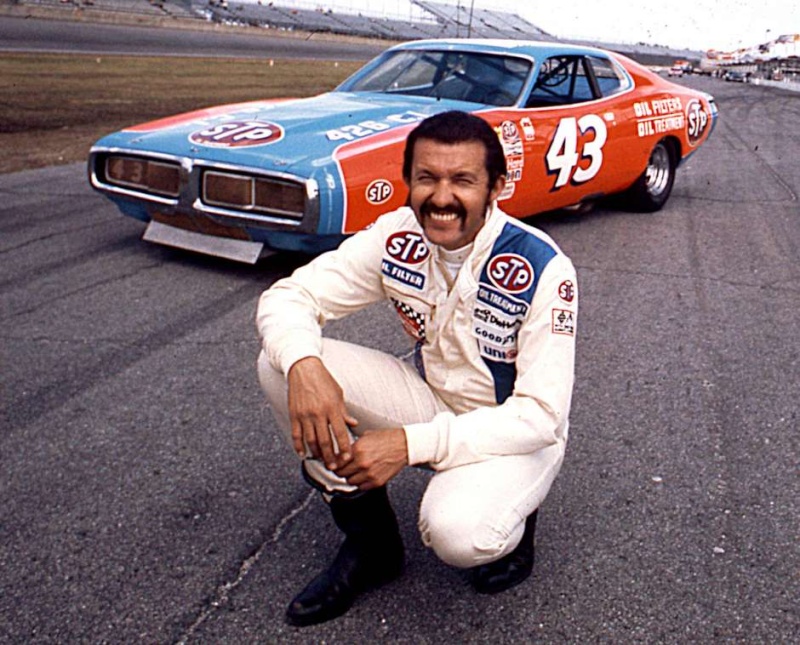
 1973 Richard Petty Dodge Charger 1:16 View previous topic View next topic Go down
Wed Apr 15, 2020 5:02 pm
I bought it last year when I visited JohnJ in SLC. Utah at a bargain price of under GBP20.00
Sprues:


The rear spoiler is way too thick and scales out to massive 27.2mm (That's 1.125" to the unconverted)
So I made a new one from sheet brass that scales out to 2.25mm.... MUCH more acceptable. The rivets are made from turned down brass pins.

Because of the bend along the rivet line and the curve of the boot lid, I had some small gaps, so added a small strip of styrene.
It's not perfect but I figure back in the day it probably wasn't perfect on the 1:1 either, as it was right in the early days of downforce on race cars.
 Got the chassis/roll cage assembled, all but the internal cross braces. The will be fitted once other stuff has gone in the interior:

Got the paint laid on the upper half of the chassis. ( I ran out for the underside!! LOL)
It's Tamiya X-14 and while it may not be a perfect match, I think it looks near enough!


I got the red paint laid. It's March STP red from Zero paints. March were sponsored by STP around the same time as Petty Enteprises, so I guess it should be right.

Colin put me on to some very thin vynyl tape for the demarcation line. I'm impressed with it and once the 2k gloss goes on, such 'ridge' as there is should all but dissapear.

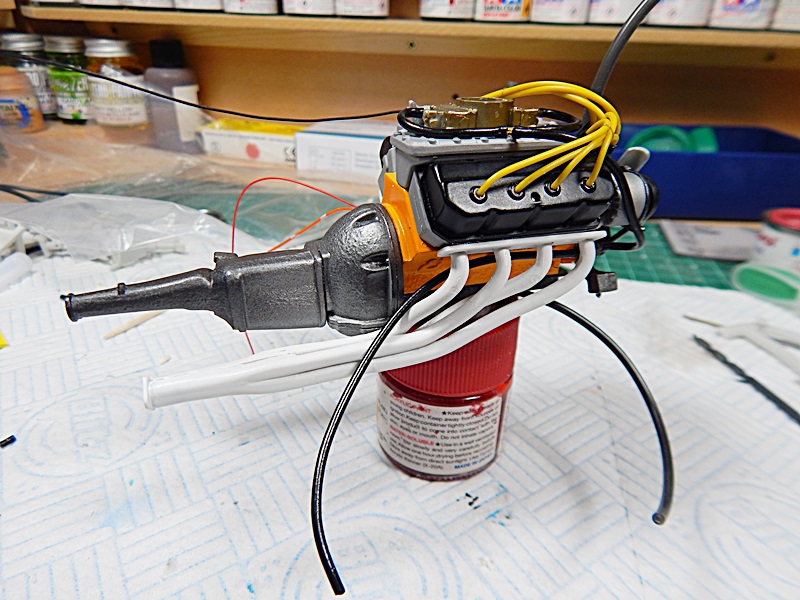
Finished up the engine tonight by installing the plumbing and wiring. The kit supplied HT lead was useable, if a tad thick but the tubing supplied for the plumbing was unuseable, as it is too stiff and kinks on tight(ish) bends. I replaced them all with small bore silicone tube/wire insulation. I also added a couple of wires to the starter solenoid.


Sprues:


The rear spoiler is way too thick and scales out to massive 27.2mm (That's 1.125" to the unconverted)
So I made a new one from sheet brass that scales out to 2.25mm.... MUCH more acceptable. The rivets are made from turned down brass pins.

Because of the bend along the rivet line and the curve of the boot lid, I had some small gaps, so added a small strip of styrene.
It's not perfect but I figure back in the day it probably wasn't perfect on the 1:1 either, as it was right in the early days of downforce on race cars.
 Got the chassis/roll cage assembled, all but the internal cross braces. The will be fitted once other stuff has gone in the interior:
Got the paint laid on the upper half of the chassis. ( I ran out for the underside!! LOL)
It's Tamiya X-14 and while it may not be a perfect match, I think it looks near enough!


I got the red paint laid. It's March STP red from Zero paints. March were sponsored by STP around the same time as Petty Enteprises, so I guess it should be right.

Colin put me on to some very thin vynyl tape for the demarcation line. I'm impressed with it and once the 2k gloss goes on, such 'ridge' as there is should all but dissapear.

Finished up the engine tonight by installing the plumbing and wiring. The kit supplied HT lead was useable, if a tad thick but the tubing supplied for the plumbing was unuseable, as it is too stiff and kinks on tight(ish) bends. I replaced them all with small bore silicone tube/wire insulation. I also added a couple of wires to the starter solenoid.


 nightflierAdmin
- Posts : 476
Join date : 2020-03-24
Age : 57
Location : Wigan
 Re: 1973 Richard Petty Dodge Charger 1:16 View previous topic View next topic Go down
Mon Apr 20, 2020 7:02 pm
Fantastic Al, superb build.
 Al.Admin
- Posts : 918
Join date : 2020-03-24
Age : 76
Location : Newcastle. N.E England
 Re: 1973 Richard Petty Dodge Charger 1:16 View previous topic View next topic Go down
Tue Apr 21, 2020 11:44 am
Thanks Gaz
- Sponsored content
Permissions in this forum:
You cannot reply to topics in this forum


